
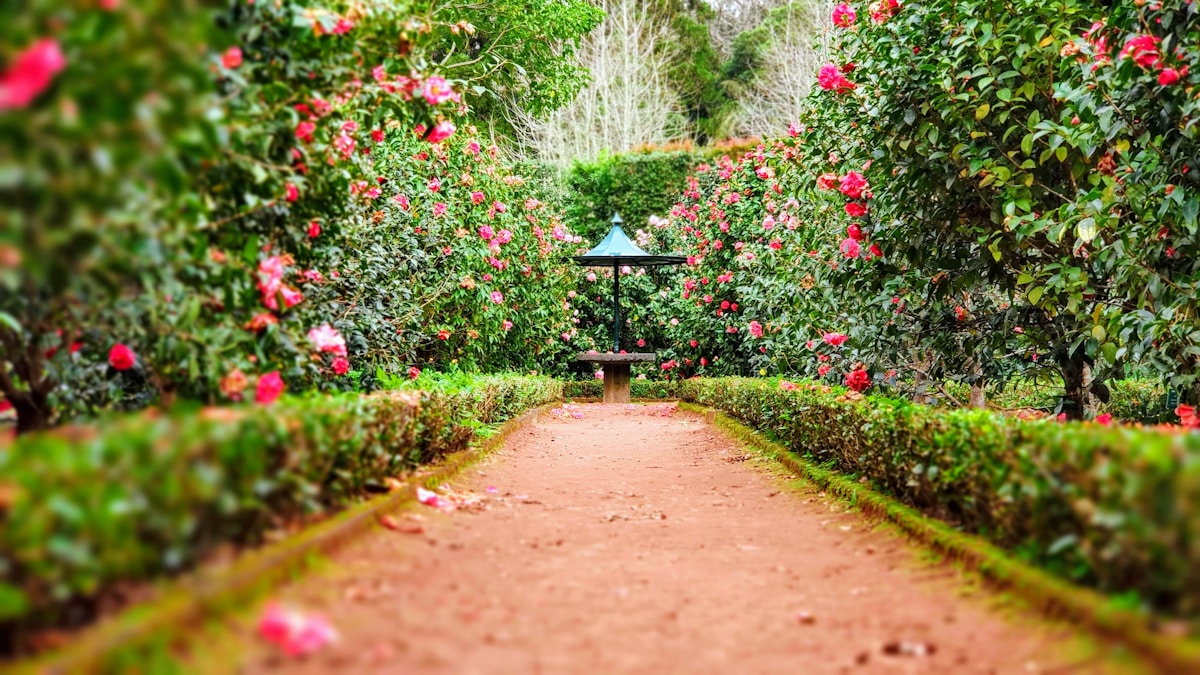
A smart irrigation system waters your lawn and garden based on weather, soil conditions, and plant needs—not a fixed timer that ignores reality. It saves water, saves money, and keeps your yard healthier than manual watering ever could.
A smart irrigation system waters your lawn and garden based on weather, soil conditions, and plant needs—not a fixed timer that ignores reality. It saves water, saves money, and keeps your yard healthier than manual watering ever could.
Whether you have an existing sprinkler system or you're starting from scratch with drip irrigation, this guide walks you through the complete setup process for Canadian homes.

Two Paths to Smart Irrigation
Path 1: Upgrade an Existing Sprinkler System
If you already have an in-ground sprinkler system with a timer/controller, you can replace the controller with a smart one. This is the easiest upgrade—same wiring, same valves, smarter brain.
Best for: Homes with existing in-ground sprinkler systems Cost: $129-315 CAD (controller only) Time: 30-60 minutes
Path 2: Build a New Smart Drip System
If you don't have sprinklers, a smart drip irrigation system is the most water-efficient option for gardens, flower beds, and vegetable patches.
Best for: Gardens, raised beds, new installations Cost: $150-400 CAD (controller + drip kit) Time: 2-4 hours
Path 1: Upgrading Your Sprinkler Controller
What You Need
- Smart sprinkler controller (Rachio 3, Rachio 3e, or Orbit B-hyve)
- Screwdriver
- Your phone
Step 1: Remove the Old Controller
- Turn off power to the sprinkler system at the breaker
- Take a photo of the existing wiring (for reference)
- Label each wire with its zone number using tape
- Disconnect all wires from the old controller
- Remove the old controller from the wall
Step 2: Mount the New Controller
- Mount the smart controller in the same location (use existing screw holes if possible)
- Connect the common wire (C) to the C terminal
- Connect each zone wire to the corresponding zone terminal (1, 2, 3, etc.)
- Connect the rain sensor wire if you have one (optional—smart controllers have built-in weather intelligence)
- Turn the power back on
Step 3: Configure in the App
- Download the controller's app (Rachio, Orbit B-hyve, etc.)
- Create an account and add the controller
- Connect the controller to your WiFi (2.4 GHz)
- For each zone, set:
- Plant type (grass, shrubs, flowers, vegetables)
- Soil type (clay, loam, sand)
- Sun exposure (full sun, partial shade, full shade)
- Slope (flat, slight, moderate, steep)
- Sprinkler head type (rotary, fixed, drip)
- The app creates an optimized watering schedule based on your inputs and local weather data
Take time to configure each zone accurately. The difference between "clay soil, full sun" and "sandy soil, partial shade" dramatically changes how much water each zone needs. Getting this right is the key to water savings.
Path 2: Building a Smart Drip System
What You Need
- Smart water valve (Gardena Smart Water Control or similar)
- Drip irrigation kit (tubing, emitters, connectors)
- Outdoor faucet
- Pressure regulator (most drip kits include one)
- Filter (prevents clogging)
Step 1: Plan Your Layout
- Sketch your garden beds and note plant locations
- Measure distances from the faucet to each bed
- Determine how many zones you need (one valve per zone, or one valve for everything)
- Choose emitter types:
- Drip emitters (1-4 GPH): Individual plants, trees, shrubs
- Soaker hose: Garden rows, flower beds
- Micro-sprinklers: Ground cover, dense plantings
Step 2: Install the Hardware
- Attach the pressure regulator to your outdoor faucet
- Attach the filter after the pressure regulator
- Connect the smart water valve (Gardena Smart Water Control)
- Run main tubing (½" or ¾") from the valve to your garden beds
- Branch off with drip tubing (¼") to individual plants
- Insert emitters at each plant location
- Secure tubing with stakes and close open ends with end caps
Step 3: Configure the Smart Valve
- Install the Gardena app (or your valve's app)
- Pair the smart valve via Bluetooth
- Set watering schedules (days, times, duration)
- If using the Gardena Smart Gateway, connect for remote access and weather-based adjustments
Canadian-Specific Setup Tips
Timing Your Installation
- Best time to install: Late April to May (after last frost)
- Winterize by: Late September to October (before first freeze)
- Growing season: Varies by region (4-7 months)
Water Restrictions
Many Canadian municipalities restrict outdoor watering during summer. Configure your smart controller to comply:
- Odd/even day restrictions: Set allowed watering days in the app
- Time restrictions: Most cities allow watering before 9 AM and after 7 PM
- Total ban periods: Set the controller to standby mode
Winterization Process
- Shut off the outdoor water supply (usually a valve in the basement)
- Drain the system: Open the lowest valve or use compressed air to blow out lines
- Remove smart water valves (Gardena) and store indoors
- Set the smart controller to winter/standby mode (Rachio, Orbit)
- Disconnect and drain drip tubing if possible, or leave in place (most drip tubing survives freezing)
Soil Types by Region
| Region | Typical Soil | Watering Approach |
|---|---|---|
| Southern Ontario | Clay | Short, frequent cycles (prevents runoff) |
| Prairies | Clay/loam | Moderate cycles, deep watering |
| BC Interior | Sandy/loam | Longer cycles, less frequent |
| Maritimes | Sandy/acidic | Frequent, moderate cycles |
| Quebec | Clay/loam | Short cycles, soak-and-cycle method |
Monitoring and Optimization
First Two Weeks
- Check each zone manually to ensure all sprinklers/emitters are working
- Look for dry spots or overwatered areas
- Adjust zone run times based on what you see
- Check for leaks at connections
Ongoing
- Review the app's watering history monthly
- Adjust seasonal settings (most smart controllers do this automatically)
- Clean drip emitter filters every 2-3 months
- Replace clogged emitters as needed
📺 Watch: Smart Irrigation System Setup — Complete Guide
Got Questions About Smart Irrigation? Let's Clear Things Up.
How much water will a smart irrigation system save?
Typically 30-50% compared to a fixed timer. The savings come from skipping watering when it rains, adjusting for temperature and humidity, and watering at optimal times (early morning when evaporation is lowest).
Can I install a smart sprinkler controller myself?
Yes. If you have an existing sprinkler system, replacing the controller is a straightforward DIY project. It's the same as replacing a light switch—disconnect old wires, connect new wires in the same positions. No plumbing or electrical expertise needed.
Do I need a plumber for drip irrigation?
No. Drip irrigation connects to a standard outdoor faucet with push-fit connectors. No soldering, no pipe cutting, no special tools. The hardest part is planning the layout—the physical installation is simple.
Will my smart irrigation system work during a power outage?
Smart controllers store schedules locally, but they need power to operate the valves. During a power outage, watering stops. When power returns, the schedule resumes. Battery-powered smart valves (like Gardena) continue operating on battery.
A smart irrigation system is one of the best investments for Canadian homeowners with a yard. Whether you upgrade an existing sprinkler system or build a new drip setup, the water savings and healthier plants make it worthwhile. Start with a Rachio 3e for sprinklers or a Gardena Smart Water Control for garden beds.
🌿
Take Our Free Outdoor Smart Device Finder
Answer a few quick questions and get personalized recommendations.
Start Quiz →
Discussion
Sign up or sign in to join the conversation.