
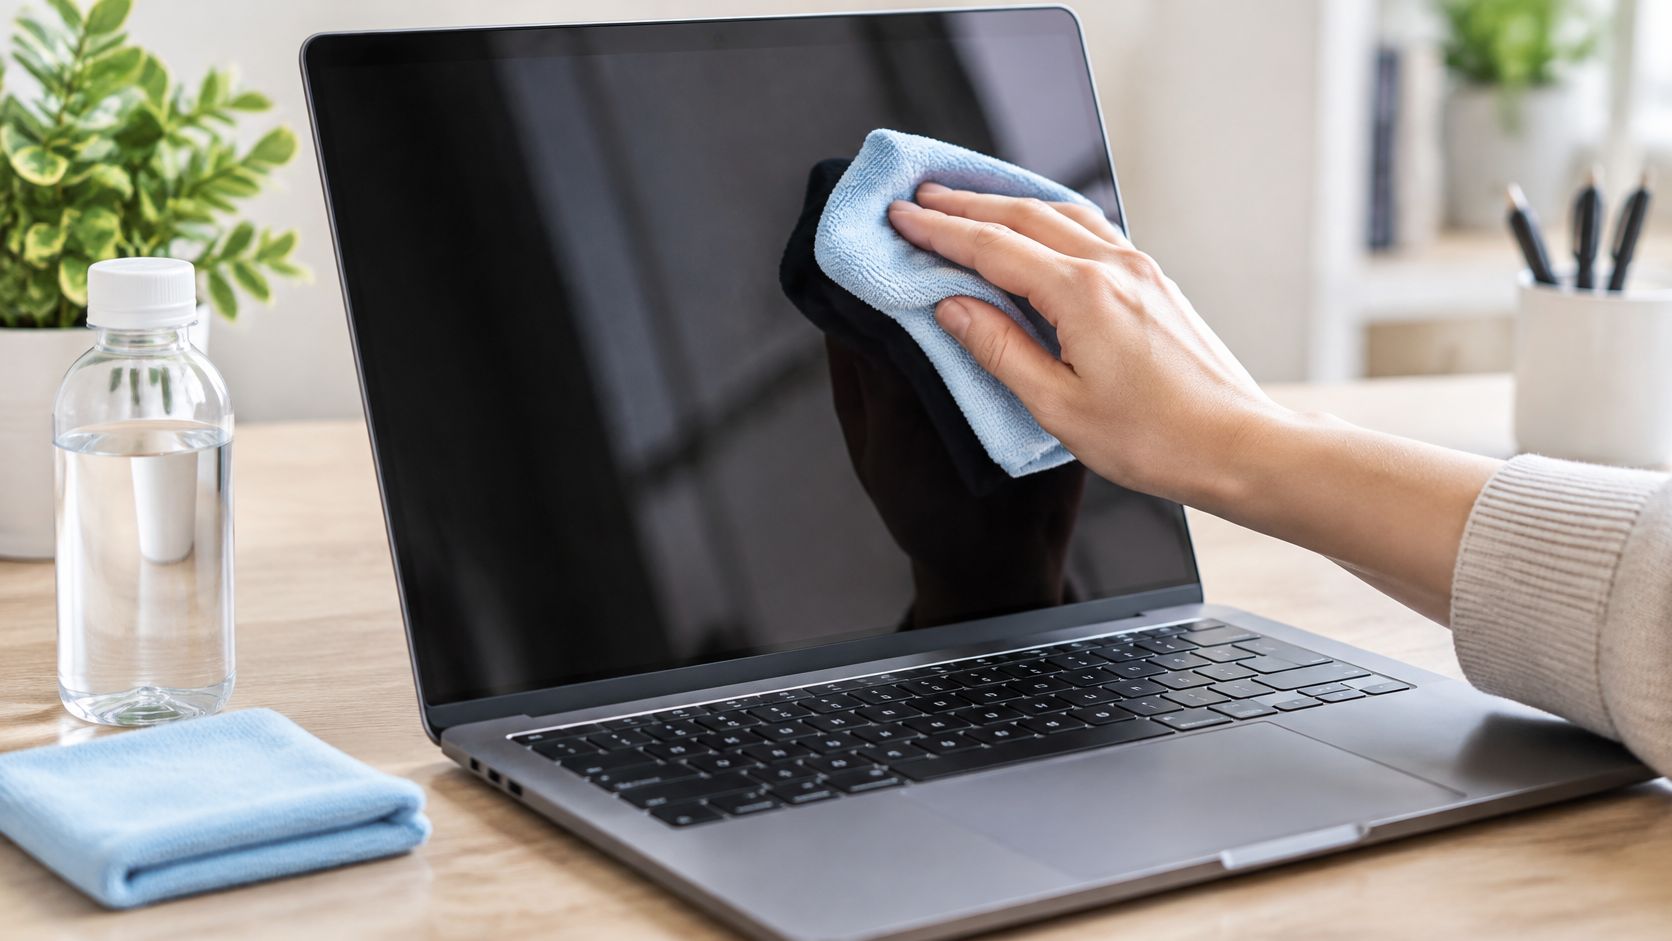
The popular advice to spray on some glass cleaner and wipe until the fingerprints disappear is exactly how a cosmetic problem can become permanent damage. Even “use a microfibre cloth” is incomplete advice. A dirty cloth, too much moisture or repeated rubbing can damage the coating you're trying to preserve.
Cleaning a laptop screen is a coating-protection task, not a polishing job. Start with the display type, use the least aggressive method that removes the mark, and recognise when another pass won't help. Some haze is residue. Some is missing coating, and no cleaner can put that back.
Table of Contents
- Find Your Screen Type Before You Clean
- How to Clean a Laptop Screen Step by Step
- Fixing Streaks, Haze and Cleaning Mistakes
- Protect the Screen Between Cleanings
- Choose Cleaning, Repair or Replacement for Your Screen
Find Your Screen Type Before You Clean
Check your laptop's model specifications for glossy, matte or anti-glare, OLED, and touchscreen descriptions. These categories overlap: an OLED laptop can also have a glossy touchscreen. The specification sheet and the manufacturer's cleaning instructions are more reliable than appearance alone.
A glossy screen reflects your surroundings sharply. Fingerprints stand out against that reflection, but a glass-like appearance doesn't mean the surface tolerates window cleaner. Anti-reflective or oil-repellent treatments may still cover it.
Matte panels scatter reflections through a textured surface. Scrubbing a stubborn mark can change that texture, leaving a shiny patch that looks different from the surrounding display even when it's clean.
Screen type, risk and cleaning priority
| Screen type | How to recognise it | Main risk | Cleaning priority |
|---|---|---|---|
| Glossy | Mirror-like reflection; fingerprints are conspicuous | Smears and streaks when over-wetted | Dry wipe first, light dampening second |
| Matte or anti-glare | Slightly grainy surface that softens reflected light | Coating polished or dulled by abrasion | Gentle dry dusting with minimal pressure |
| OLED | Model specifications list OLED; very deep blacks | Moisture ingress and heat can damage the panel | Dry microfibre first; follow manufacturer guidance before using liquid |
| Touchscreen, any panel type | Specifications confirm touch input; may have an oleophobic coating | Oil-repellent coating wears through friction and unsuitable cleaners | Fewer passes; spot-clean visible smudges |
OLED describes the display technology, not a universal cleaning finish. Don't assume every OLED requires the same solvent or cloth. Likewise, smooth finger movement doesn't prove that a touchscreen has a particular coating.
IPS and VA describe panel technologies rather than cleaning compatibility. Our IPS vs. VA panel comparison explains that distinction, but neither label gives you permission to use alcohol or household cleaner.
Practical rule: If the specification sheet names a specialised coating or cleaning cloth, its care instructions override general screen-cleaning advice.
Protecting the finish is part of keeping the machine usable, not just making it look tidy. The federal right-to-repair consultation document places longer product use, repair and refurbishment within Canada's broader approach to product longevity. For a laptop display, that starts with not removing a functional surface treatment while removing fingerprints.
How to Clean a Laptop Screen Step by Step
Dry microfibre first, distilled water only when needed is a sensible default for an ordinary display whose manufacturer permits damp cleaning. Distilled water avoids the mineral residue that tap water can leave behind. It still needs to stay on the cloth, not run across the panel.
The MicroAge Kingston device-cleaning guide supports powering down, using soft cleaning materials and keeping liquid away from the device itself. Treat screen care separately from keyboard and chassis disinfection: permission to disinfect a palm rest isn't permission to use that product on the display.
Choose the cleaner before touching the screen
A clean, soft, lint-free microfibre cloth should feel smooth, with no stiff seams or embedded particles touching the panel. Don't reuse a cloth that has cleaned a kitchen worktop, spectacles with oily cleaning spray, or a car dashboard. Its previous contents matter more than the microfibre label.
Alcohol deserves a conditional answer rather than a blanket recommendation. Some manufacturers permit particular alcohol products on particular displays; others restrict them. Glossy does not automatically mean alcohol-safe, and a lower concentration alone doesn't establish compatibility.
Cleaners and materials to use or avoid
| Cleaner or material | Verdict | Why |
|---|---|---|
| Distilled water on a damp microfibre cloth | Use when the manufacturer permits damp cleaning | Avoids mineral residue and provides a low-residue starting point |
| Dry microfibre cloth | Use | Lifts loose dust and some fingerprints without introducing liquid |
| Isopropyl alcohol | Use sparingly, spot only, and only with model-specific approval | Lifts oil, but unsuitable or repeated exposure can damage surface treatments |
| Dish soap in water | Avoid as a general screen cleaner | Surfactant residue can leave haze and smears |
| Ammonia-based glass cleaner | Avoid | Can damage display coatings |
| Vinegar solution | Avoid | Acidity creates an unnecessary compatibility risk for coatings |
| Paper towels or tissues | Avoid | Can shed lint and abrade delicate finishes, particularly with trapped grit |
| Disinfectant wipes | Avoid on the screen unless explicitly approved for that display | Both the solution and wipe material must be compatible with the coating |
Keep bleach, scouring products and hand sanitiser away from the display as well. A household product's ability to cut grease doesn't make it suitable for a coated optical surface.
The process below keeps dust removal separate from damp cleaning.
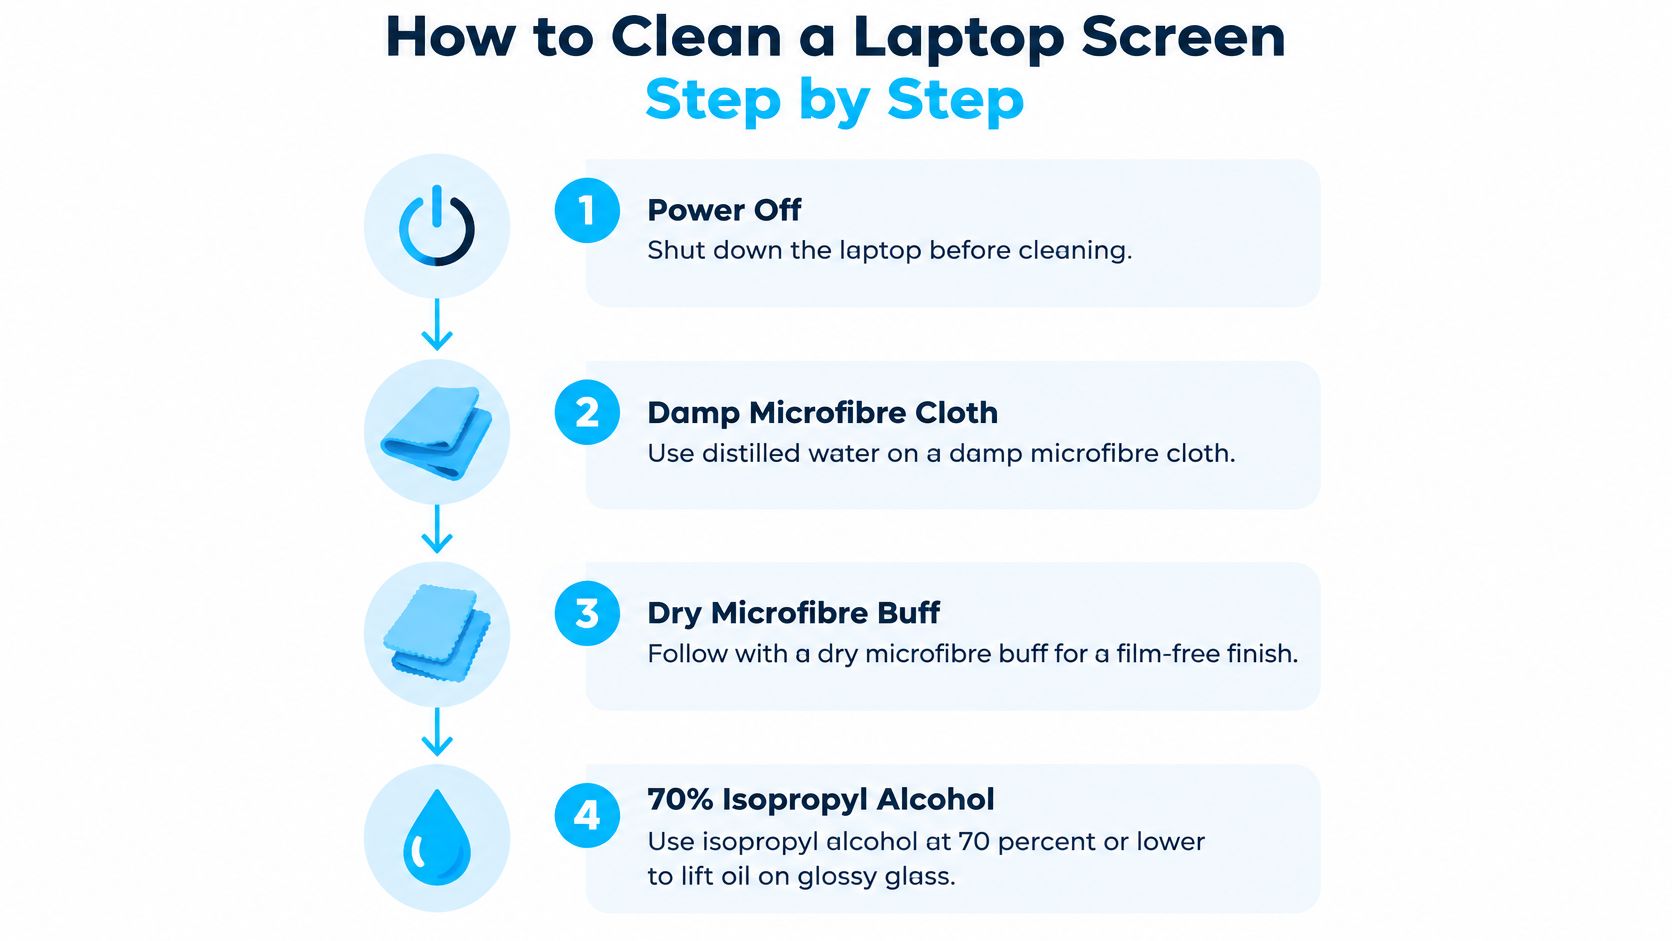
Treat the infographic's alcohol option as conditional on manufacturer approval, not as a required finishing step. Most routine cleaning should end without a solvent.
Work from loose dust to localised smudges
Shut down and disconnect.
Turn the laptop off completely, unplug the charger and remove connected accessories. Let a warm machine cool before cleaning. The dark panel makes fingerprints easier to see, so you won't keep wiping areas that are already clear.Lift loose dust before adding moisture.
Open a clean, dry microfibre cloth and move it lightly across the surface. A gentle hand-operated air blower can help lift loose particles without dragging them across the coating. Don't scrape stuck particles with a fingernail or press the cloth down to force them loose.Dampen a separate cloth with distilled water.
Add water away from the laptop, using only enough to make a small working area slightly damp. The cloth shouldn't drip, release droplets when pressed, or leave a wet trail. If you've over-wetted it, switch to another cloth rather than trying to manage the excess on the screen.Wipe gently from top to bottom.
Use broad, controlled strokes instead of repeatedly circling the same fingerprint. Support the back of the lid without squeezing it, and keep pressure light enough that the panel doesn't visibly flex. Near the bezel, move moisture away from the seam rather than pushing it towards the frame.Remove remaining moisture with dry microfibre.
Use a separate dry cloth or an untouched dry section, making light passes rather than polishing. Leave the laptop open and powered off until the surface is fully dry. Don't close the lid while dampness remains where it could transfer to the keyboard.Inspect under angled light.
Look across the panel from the side under a bright room light. If a local smear remains, address that area rather than repeating the whole screen. A clean display should look even, without wet edges, cloudy swirls or a film that follows the cloth's path.Retire a soiled cloth immediately.
Swap it when it collects visible dirt, feels gritty or starts redistributing oil. Keep a dedicated screen cloth for the laptop rather than sharing it with the keyboard. Wash reusable cloths without fabric softener and store them somewhere clean once dry.
Get the pressure right
Think of the cloth as lifting contamination, not sanding it away. If a mark needs enough force to bend the lid, the next action is reassessment, not a firmer grip.
A grid of keyboard-shaped marks is a useful example. Some marks are transferred skin oil and lift with gentle cleaning; others are abrasion from contact under pressure. Their similar appearance doesn't justify progressively harder wiping.
The finish matters more than a perfectly fingerprint-free result. A faint remaining smudge is preferable to a permanently polished patch.
There's also no benefit in leaving a cleaning solution to soak on the display. Screens aren't worktops, and liquid can migrate into seams while you wait. Use a controlled damp pass, remove the moisture, and judge the result only after it dries.
Fixing Streaks, Haze and Cleaning Mistakes
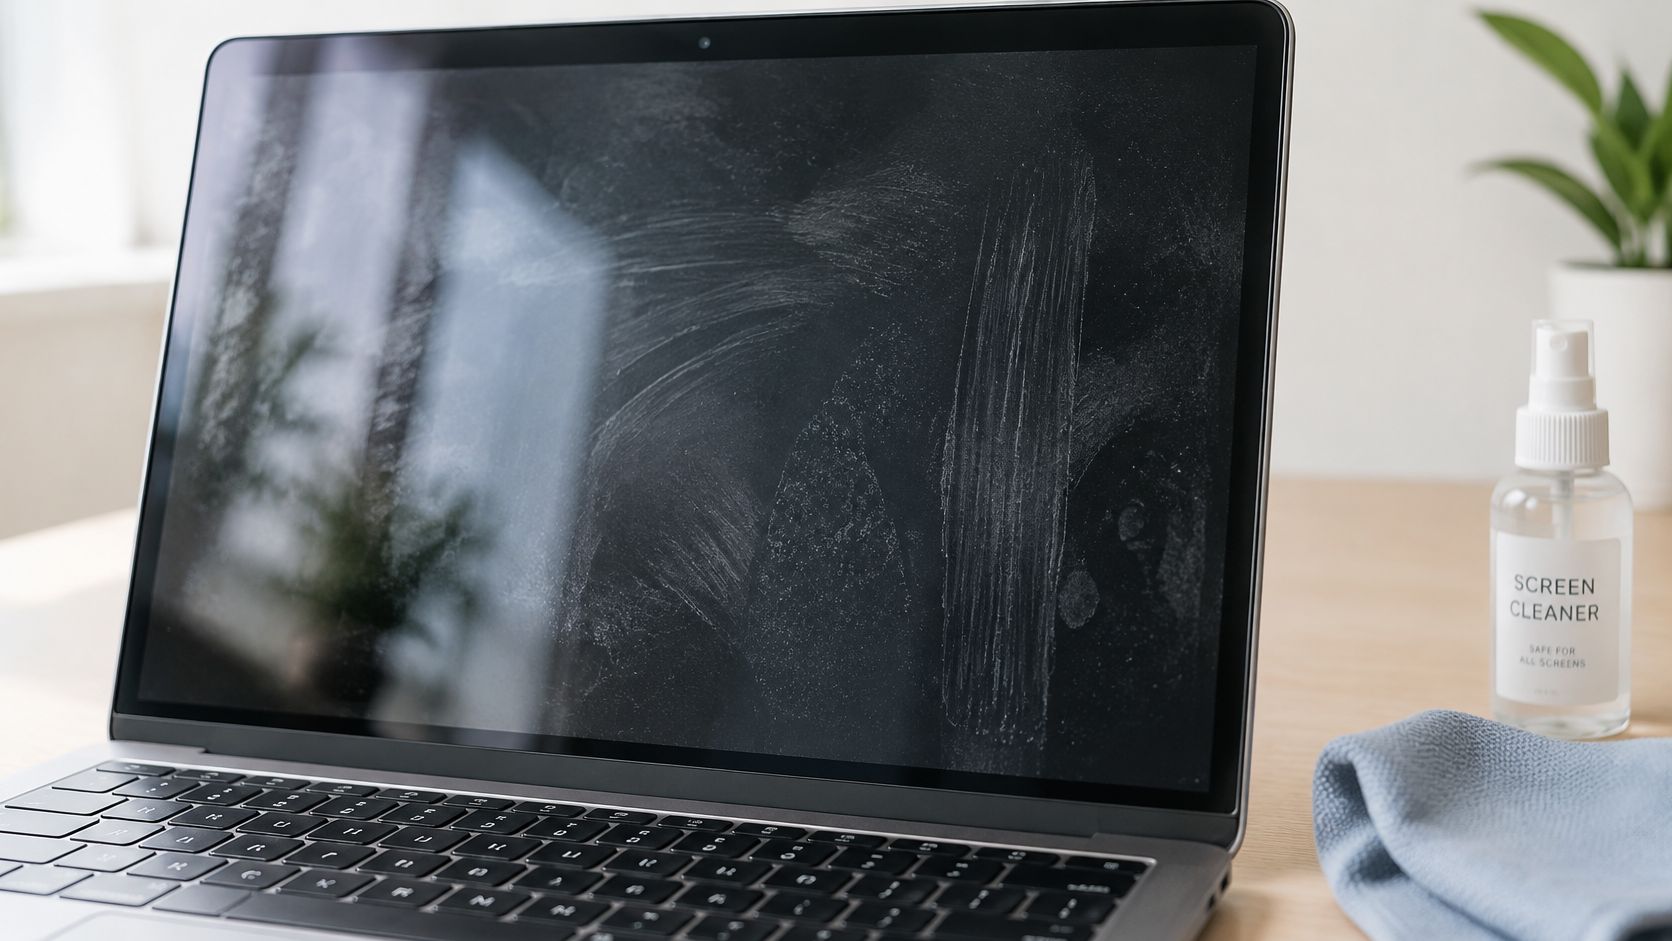
Streaks after wiping usually call for a cleaner cloth, not stronger cleaner. A wet cloth can redistribute oil, while leftover cleaning product can dry into visible bands. Start with dry microfibre; if film remains and damp cleaning is permitted, make a light distilled-water pass and dry immediately.
A cloudy patch needs more caution. Residue may lift, but damaged anti-glare treatment can look cloudy too. If the patch doesn't change as the surrounding surface becomes clean, stop treating it as removable dirt.
Screen symptoms, causes and fixes
| Symptom | Likely cause | Fix |
|---|---|---|
| Streaks after wiping | Excess moisture or leftover cleaner film | Buff gently with clean, dry microfibre; use a light distilled-water pass only if film remains |
| Cloudy or hazy patch | Cleaner residue, or possible coating damage | Try a permitted damp pass and dry immediately; stop if unchanged |
| Fingerprint film that won't lift | Persistent oil, contaminated cloth or altered coating | Try fresh dry microfibre; don't escalate chemicals without manufacturer approval |
| Liquid at bezel or keyboard edge | Possible moisture ingress | Shut down, unplug, blot accessible liquid and seek repair advice before restarting |
| Scratch visible at every angle | Physical damage to the coating or panel | Stop cleaning the mark and check warranty or repair options |
| Shiny or dull patch that remains | Coating worn through abrasion or chemical exposure | Ask about repair; cleaning cannot rebuild the coating |
Know when to stop
I would stop when a careful dry attempt followed by a permitted damp attempt produces no visible improvement. That's a practical limit, not a guarantee that every stubborn mark is permanent. It prevents frustration from turning into repeated scrubbing.
Don't use a household-surface technique to chase the final patch. The methods in our stainless-steel fridge cleaning guide address a different material, not a laptop's optical coating.
For suspected liquid ingress, surface dryness doesn't prove the inside is safe. Don't rely on a fixed drying interval, a hair dryer or rice before restarting; get an assessment.
A mark that remains unchanged after gentle cleaning may need diagnosis, not another bottle of cleaner.
Repair deserves consideration before disposal. A federal electronics life-extension consultation estimates that only 8% of used information-and-communication-technology products undergo life-extension strategies. An intact laptop with a cosmetic defect is worth assessing before replacing it.
Protect the Screen Between Cleanings
Keep hard objects out of the laptop, reduce pressure during transport, and clean according to visible dirt rather than a daily polishing habit. Prevention avoids problems that no cloth can fix.
- Clear the keyboard before closing. Pens, earbuds, cable ends and crumbs can become pressure points between the keyboard and panel.
- Handle a loose hinge as a repair issue. Don't press the lid or twist the screen to steady it.
- Move drinks away from the machine. Keep cups and food out of the space where a spill could reach the hinge or keyboard.
- Use a protective sleeve. Keep keys, chargers and zip hardware from pressing against the laptop during transport.
- Allow cold equipment to acclimatise. After bringing a laptop indoors from a Canadian winter, leave it powered off until it reaches room temperature and any condensation has cleared.
Clean for the conditions, not the calendar
Inspect the display during your normal desk tidy-up. If there's only loose dust, dry dusting is enough; if there's no visible dirt, leave the surface alone. Reserve damp cleaning for marks that need it.
Clean the keyboard separately so oils and debris don't keep transferring to the screen. Avoid putting a thick cloth, keyboard cover or other insert between the panel and keys unless the laptop manufacturer permits it. Closed-lid clearances can be tight.
Don't compress the lid inside an overfilled bag. A sleeve protects against scuffs, but it doesn't make a laptop immune to pressure from books, bottles or tightly packed luggage.
Keep a usable computer in service
According to Statistics Canada's household electronic-waste summary, 14% of Canadian households had unwanted computers to dispose of in 2023. Among those households, 64% took or sent the computers to a depot or drop-off centre.
Those figures describe disposal behaviour, not the causes of computer failure. They don't establish how many machines were replaced because of screen damage. The practical lesson is narrower: preserve a working display, and use the appropriate collection route when the computer reaches end of life.
A minor cosmetic imperfection doesn't make a laptop unusable. If text remains clear and the panel functions properly, continued use may be the most sensible choice.
Choose Cleaning, Repair or Replacement for Your Screen
Make the decision from the condition of the panel, not how frustrating the mark has become. Removable fingerprints belong in the cleaning category. A crack, persistent coating defect, pressure damage or suspected liquid ingress belongs in an assessment.
Before handing the machine over, photograph the symptom and check the warranty terms. If it's safe to operate, back up your files, sign out of sensitive accounts and remove locally saved credentials where practical. Don't power on a liquid-exposed laptop just to complete that preparation; discuss data recovery and privacy with the repairer instead.
Compare the useful outcomes
Ask for a diagnosis and an itemised quote, then weigh the repair against the laptop's condition and remaining usefulness. A cosmetic patch may be tolerable; poor visibility that interferes with work may justify a panel replacement. Neither automatically requires replacing the entire computer.
An external monitor can sometimes keep an otherwise functional laptop useful at a desk. Our curved monitor vs. flat monitor comparison explains that buying choice, but an external display is a workaround, not a repair for liquid damage.
Use these plain rules:
- Clean when the contamination lifts and the finish remains even.
- Assess when a mark stays unchanged, the panel is damaged or liquid may have entered.
- Use a depot when the machine is beyond useful repair, choosing a provincial or municipal electronics collection route rather than household garbage.
Our Monitor Finder gives monitor recommendations based on your use case, which can help if an external display would keep a serviceable laptop useful. Visit Celmin to compare your options before replacing a whole computer over a screen problem.
Sign up or sign in to join the conversation.